Quick start
Clone a VuiAdmin edition and have the admin dashboard running locally in about five minutes.
The fastest path from nothing to a running dashboard. Pick the block for your stack.
Node editions
React, Next.js, Vue and Angular all install the same way. Replace the repository name with the edition you want.
git clone https://github.com/myviliha/free-reactjs-admin-dashboard.git my-dashboard
cd my-dashboard
npm install
npm run dev
Then open http://localhost:3000.
| Edition | Repository |
|---|---|
| React | free-reactjs-admin-dashboard |
| Next.js | free-nextjs-admin-dashboard |
| Vue | free-vuejs-admin-dashboard |
| Angular | free-angularjs-admin-dashboard |
HTML
No build step and nothing to install.
git clone https://github.com/myviliha/free-html-admin-dashboard.git my-dashboard
cd my-dashboard
open index.html
Laravel
git clone https://github.com/myviliha/free-laravel-admin-dashboard.git my-dashboard
cd my-dashboard
composer install
cp .env.example .env
php artisan key:generate
php artisan serve
Starting your own project rather than a clone
git clone brings the history with it, which you probably do not want for your own product. Either
use GitHub's Use this template button, or take the tree without the history:
npx degit myviliha/free-reactjs-admin-dashboard my-app
cd my-app
npm install
npm run dev
What to change first
- The brand colour. One token, in the stylesheet. See Colours.
- The name and the logo.
public/images/logo.pngand the wordmark in the brand component. - The footer. Two environment variables, so you do not have to edit a component. See Configuration.
- Delete the screens you do not need. They are files. Removing one means removing its entry from the route table, and the test suite will tell you if you miss the sidebar.
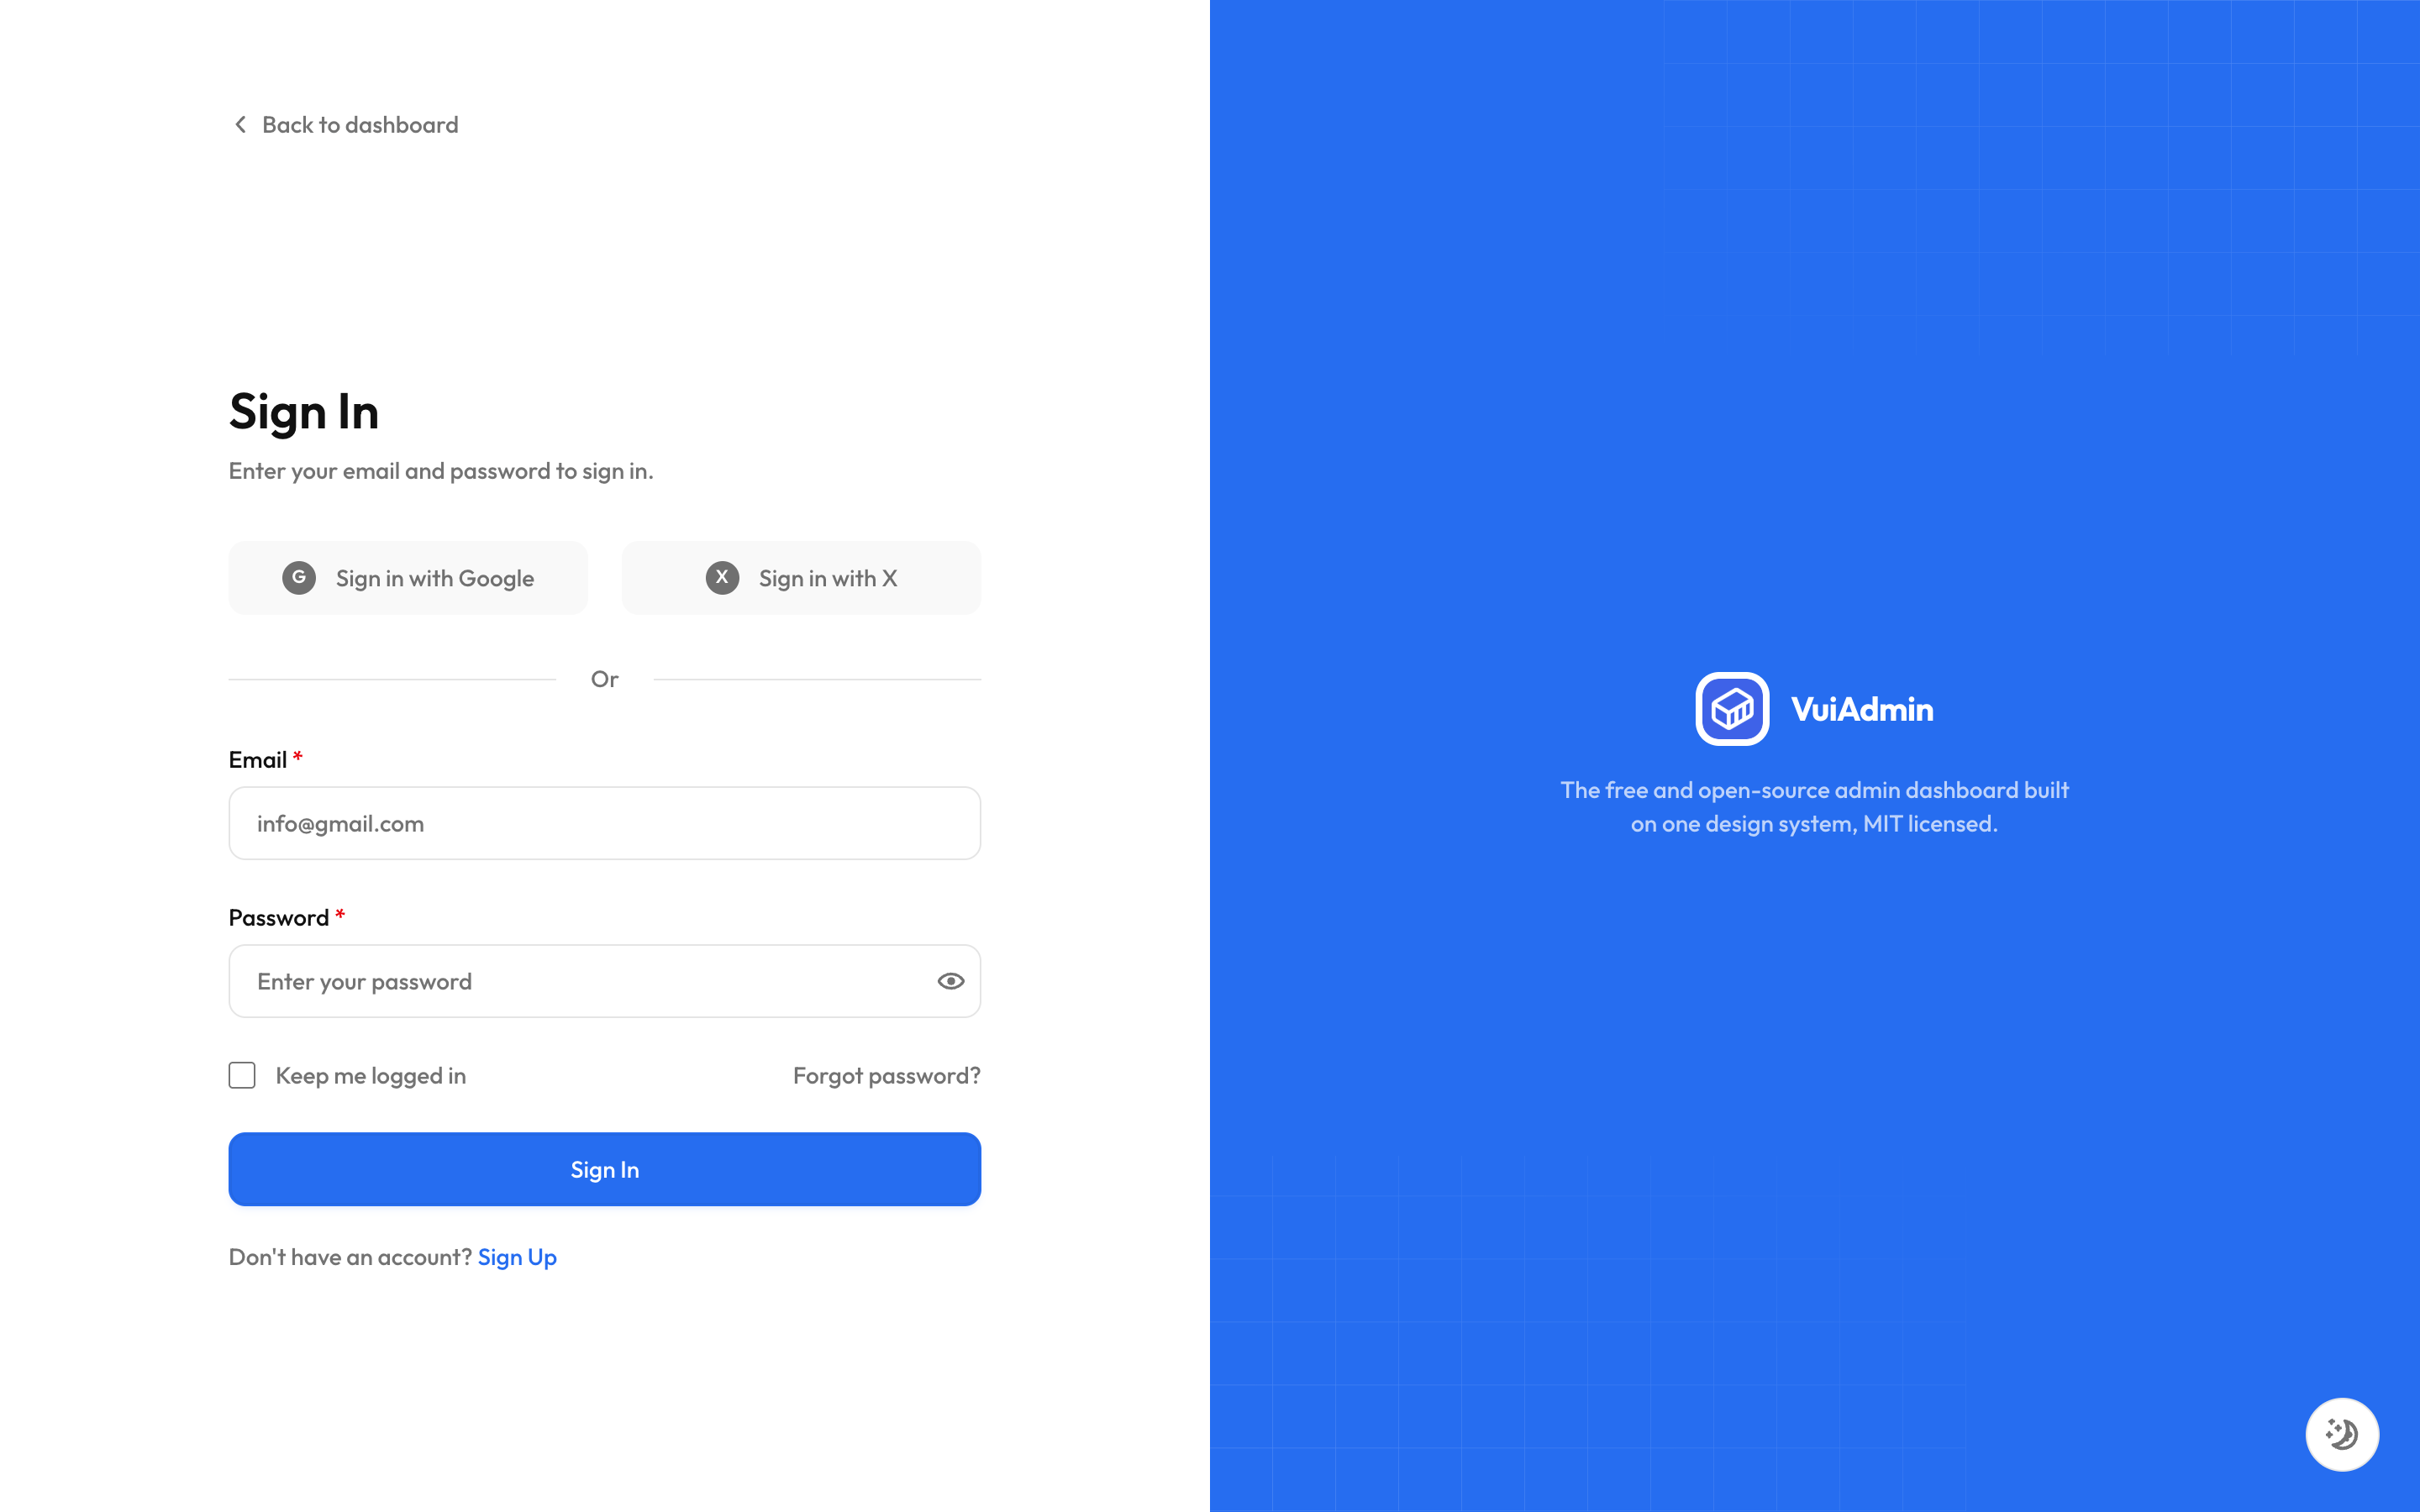
What it looks like when it is running